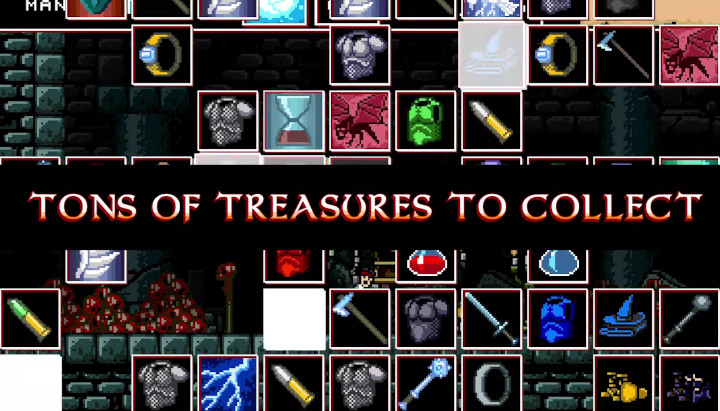
Infernax can be a pretty unforgiving game, especially if you go the route I did and only use the “Classic” respawn option. But it also gives you a lot of methods of upgrading your character so you can face tougher challenges.
Now, if you look at the image I posted above (which comes from one of the game’s trailers), you’ll see a lot of weird stuff, like rings and bullets and mage gear. What? Well, Infernax is a game that keeps unfolding in new and unexpected directions, even after you’ve beaten it. So there’s way more stuff to earn and collect than it appears at a glance.
So here’s how you can get every single upgrade in Infernax, from basic stat upgrades to spells and skills to weapons and armor. You ready?
Starting Gear
When you start the game, you will already have:
- 1 Potion Flask
- Mace
- Rusted Mail
Stat Upgrades
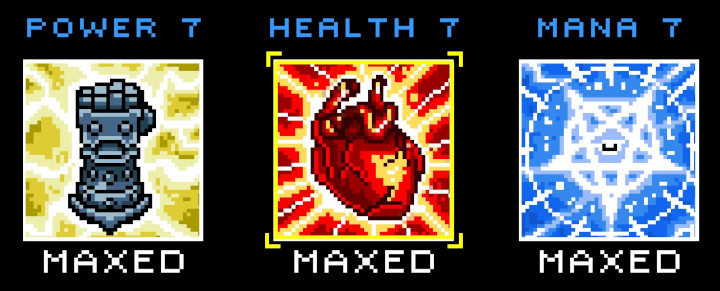
Next up, there are your basic stat upgrades, which fall into three categories: Health, Mana, and Power. Health and Mana should be pretty self-explanatory (each upgrade will add a single block to your Health or Mana meters). Power is basically how hard your character hits, so more power means you can kill enemies with fewer hits.
You can upgrade your stats at any shrine in the world by spending XP. Here are the upgrade tiers (these tiers are the same across all three upgrade categories):
- 1 – Default
- 2 – 750 XP
- 3 – 1,750 XP
- 4 – 3,500 XP
- 5 – 5,000 XP
- 6 – 7,500 XP
- 7 – 9,999 XP
Merchants
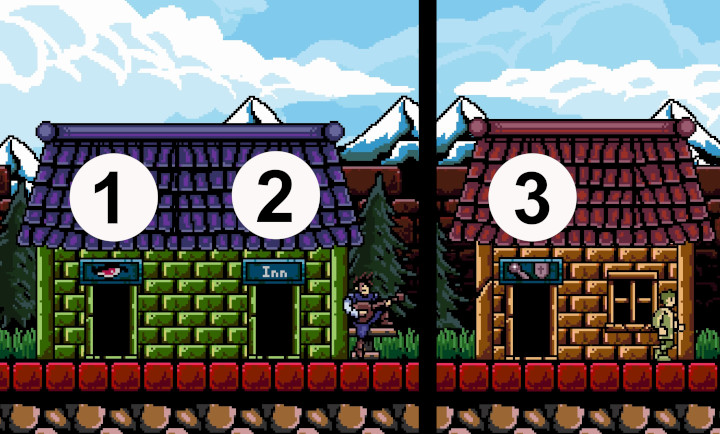
There are three types of merchants in Infernax, and you can tell what a merchant sells by the sign over their door. I’ve labeled all three of them in the above image, and for the sake of this guide, I’m going to call them:
- Apothecary
- Inn/Tavern
- Blacksmith
So first, let’s look at merchants in the game’s three towns. In Darnov, here’s what you can buy:
Darnov Blacksmith (Luke M.)
- Potion Flask – 100 gold
- Chain Mail – 100 gold
Darnov Inn (Brewmaster)
- Health Potion – Free (requires an empty potion flask)
Darnov Apothecary (Arthur)
- Shield spell – 100 gold
- Extra Life – 150 gold
Next up is Arkos.
Arkos Apothecary (John)
- Time Warp spell – 100 gold
- Extra Life – 500 gold
Arkos Blacksmith (Anton)
- Potion Flask – 200 gold
- Silver Armor – 400 gold
- Silver Mace – 300 gold
Arkos Inn (Brewmaster)
- Health Potion – Free (requires an empty potion flask)
And now for Kastki.
Kastki Blacksmith (Christopher)
- Potion Flask – 250 gold
- Magic Mace – 400 gold
Kastki Apothecary (Alan)
- Familiar spell – 300 gold
- Extra Life – 600 gold
Kastki Inn (Brewmaster)
- Health Potion – Free (requires an empty potion flask)
- Mana Potion – 25 gold (requires an empty potion flask)
Okay, so those are the obvious ones. But there are a few more shops scattered across the world, and they’re generally more difficult to reach than the town shops.
Arkos Underpass Apothecary (Horace)
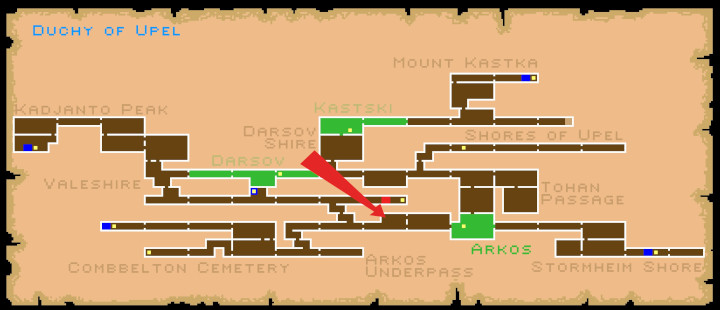
You’ll find Horace’s magic shop to the east of Arkos in the Arkos Underpass. In order to reach him, you’ll need the Precision Strike skill to smash through the cracked wall, and the Skycall skill to launch yourself up to his shack.
- Teleport spell – 200 gold
Stormheim Tavern (Brewmaster)
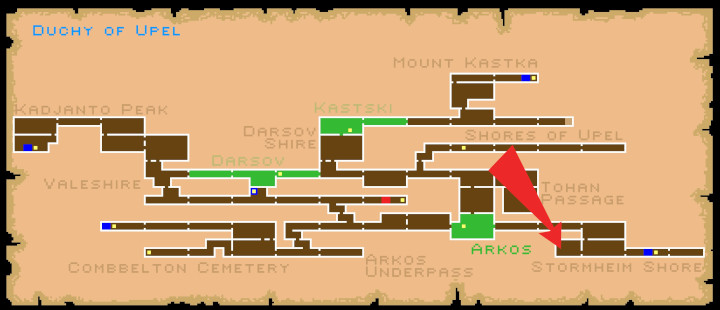
This one is located just west of Stormheim Castle. It’s right next to the dam.
- Health Potion – Free (requires an empty potion flask)
- Mana Potion – 25 gold (requires an empty potion flask)
Kadjanto Apothecary (Mary)
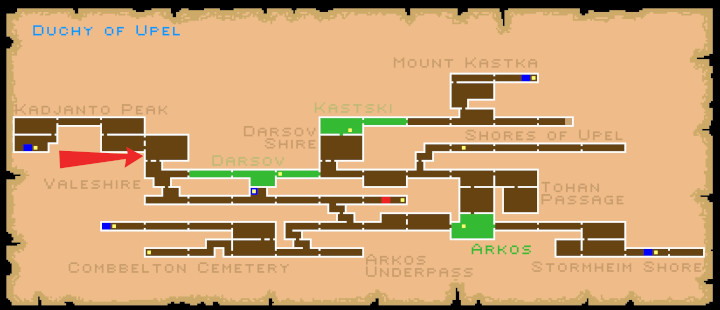
You will need the Skycall skill to launch yourself up to the platform where Mary’s shop sits. It seems like a bad marketing strategy to me…
- Health Potion – Free (requires an empty potion flask)
- Mana Potion – 25 gold (requires an empty potion flask)
- Elixir – 50 gold (requires an empty potion flask)
Secret Passage in Kastki
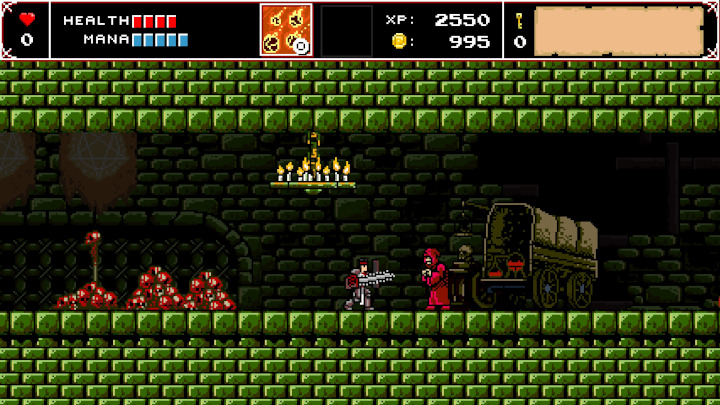
If you’re working through an evil (or ultimate evil) playthrough, you can talk to the mayor in Kastki, and he’ll let you into a secret passage. Here, you can upgrade your Thunderstorm spell to Fire Storm.
- Fire Storm spell upgrade – 250 gold
Choice-based upgrades
Some spells and upgrades are dependent upon the choices you make in the game. In some cases, you’re presented with an A/B choice, where A will lock you out of B and vice versa. Here are what you’ll earn by making various choices in the game.
Valeshire Bridge
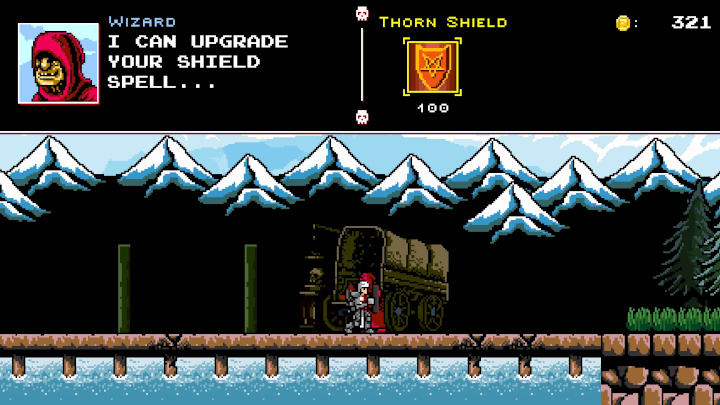
In the early part of the game, you’ll receive a quest to clear Valeshire Bridge of bandits at night. When you get there, you’re given the option to either kill the brigand or spare him. If you kill him, Egbert will open up a shop on the bridge. If you spare the brigand, though, Egbert will flee and a sketchy looking wizard will show up instead. So your options here vary based on which route you’ve taken.
- Thorn Shield spell upgrade – 100 gold (from the wizard if you spare the brigand)
- Shield Regen spell upgrade – 100 gold (from Egbert if you kill the brigand)
Vagabond camp
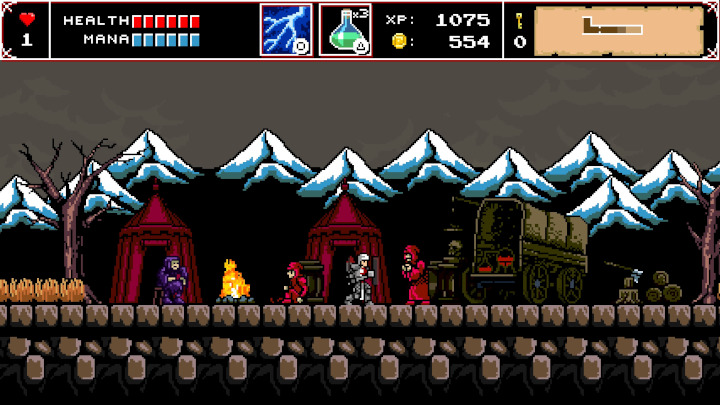
On the east edge of the Combbelton Cemetery, you’ll find a camp filled with vagabonds outside of the house of a man named James. this area is located right here:
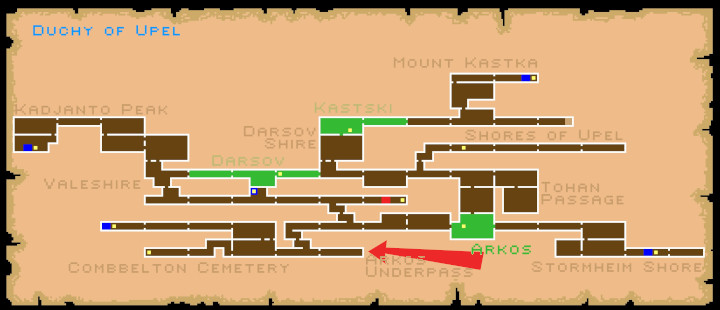
If you talk to James, he’ll ask you to get rid of the camp. When you return to the vagabonds, you’ll have the option to clear them out or drink with them. If you clear them out, James will sell you a spell. If you drink with them, they’ll kill James in the middle of the night and there will be a shady wizard in his place who will sell you a different spell.
- Heal spell – 250 gold (from James if you clear out the vagabonds)
- Drain Life spell – 250 gold (from the wizard if you drink with the vagabonds)
Katski
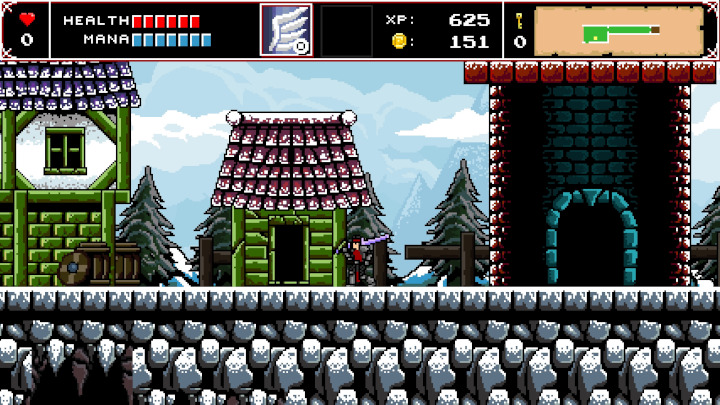
In Katski, you’ll meet a woman named Caroline (who lives in the house pictured above), and she asks you to kill a skeleton east of town. When you get to the location, you’ll find a skeleton named Remus who will ask you to spare him. If you spare him, he will murder Carline. If you slay him, you’ll have to deal with his buddy Brutus later on.
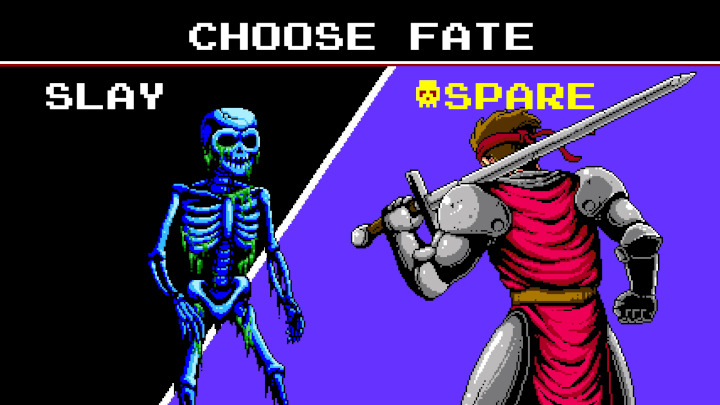
Eventually, you’ll find a wizard in a cage way out in Kadjanto Peak (on the way to the Kadjanto Stronghold dungeon). If you spared Remus, he and Brutus will slay the wizard and upgrade your Familiar spell to Fiend, which summons a demon instead of the raven. If you killed Remus, you’ll have to fight Brutus, and afterward the wizard will upgrade your Familiar to Doves instead, which summons two doves instead of the raven.
- Fiend spell upgrade (if you spare Remus)
- Doves spell upgrade (if you kill Remus)
Potion Flasks
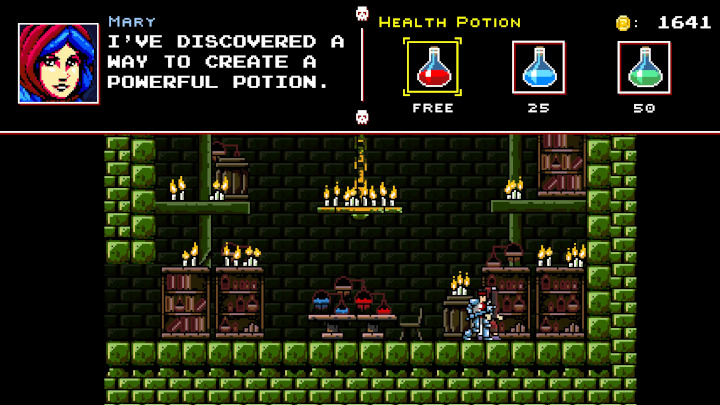
You can obtain a total of five potion flasks. These can be refilled at taverns, but there’s a potion brewer named Mary in Kadjanto Peak who will make you elixirs (which are the best potion in the game).
If you’ve followed the Merchants section of this guide, you should already have four potion flasks (one is in your inventory when you start the game, the other three are purchased from merchants in each town). That leaves one last flask.
To get this flask, you’ll need to cure Genevieve’s husband in Darsov. Thankfully, I already wrote a full guide to doing that. Simply cure the possessed husband (using the Holy Light spell) and the last flask is yours.
Dungeon Skills and Spells
There are five main dungeons in the game, and you’ll find a skill or spell inside of each one. Most of the time, you will need this skill or spell to progress further in the game.
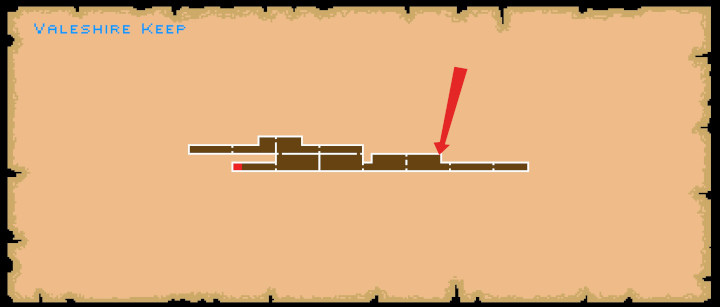
Valeshire Keep – Thunderstorm spell
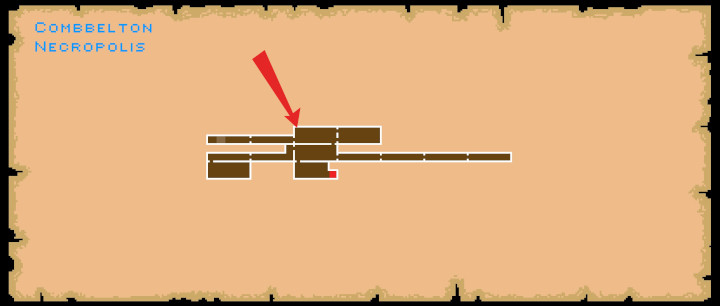
Combbelton Necropolis – Precision Strike skill
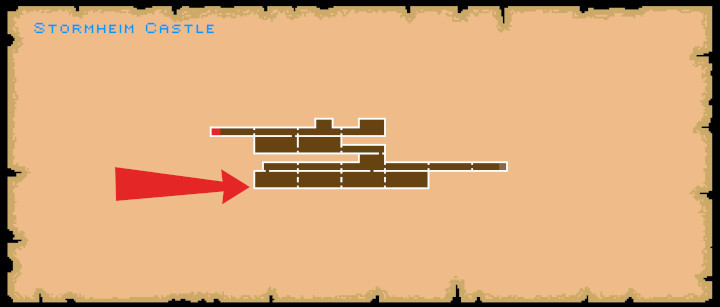
Stormheim Castle – Skycall skill
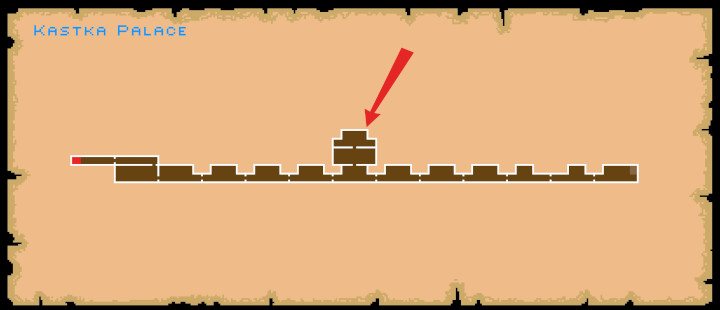
Kastka Palace – Holy Charge skill
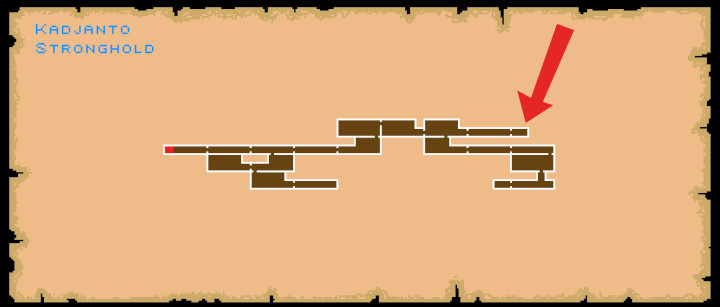
Kadjanto Stronghold – Holy Light/Hellfire spell
The spell you get here is based on your morality rating. If you’re playing on the good side, you’ll get Holy Light, but if you’re playing on the evil side, you’ll get Hellfire instead.
Guided Strike
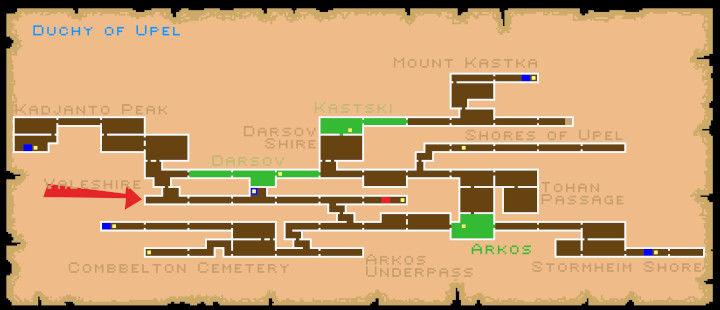
You can learn the Guided Strike skill from Danielle, who lives in a house in Valeshire (see the map above for the exact location). You’ll need to have acquired the Precision Strike skill (which you’ll find in the Combbelton Necropolis dungeon) so you can smash through a wall to reach the house.
When you get inside, Danielle will ask you to cleanse her basement, and you’ll go face off against Mammon. The trick to this fight is to deflect projectiles back into whichever eye is open. When Mammon is defeated, return to Danielle and she’ll teach you the Guided Strike skill.
Holy Armor
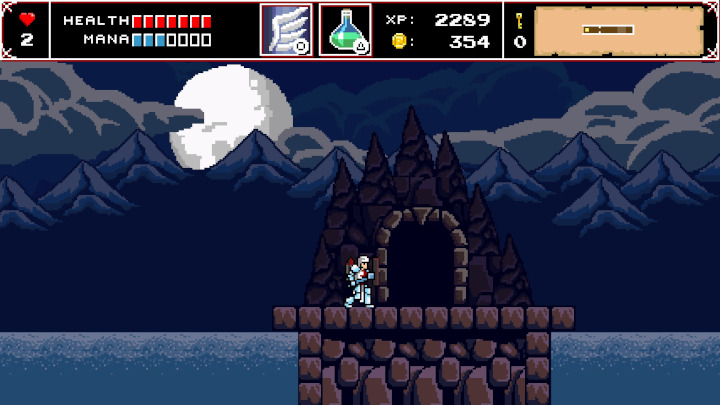
Once you earn the Holy Charge skill (which you’ll find in the Kastka Palace dungeon), go back to Stormheim Castle (if you have Teleport, you can fast travel directly to the shrine). You can now use Holy Charge to cross the water to your right. When you get to the next screen, you’ll need to walk to the very edge of the stone walkway while charging the Holy Charge. Jump to your right as far as you can, then release the charge right at the apex of your jump. This is a tricky leap to make, but it is possible.
If you can successfully make the leap, you’ll find a secret dungeon called the Sunken Palace. The boss of this dungeon is Halphas, and if you can beat it, you’ll open a treasure room that contains the Holy Armor, the final armor set in the game.
This also earns you the Armor of Ire Trophy/Achievement.
Necronomicon

Your inventory has one slot that’s labeled with a series of question marks. That’s for the Necronomicon, which is quite the ordeal to get — you’ll essentially need to do either an ultimate good playthrough or an ultimate evil playthrough to have access to it (and you won’t be able to complete either ultimate path without it).
I have a beefy guide for getting the ultimate good rating that lays it all out. I have another beefy guide for ultimate evil. So take your pick and go get that Necronomicon!
Holy Mace
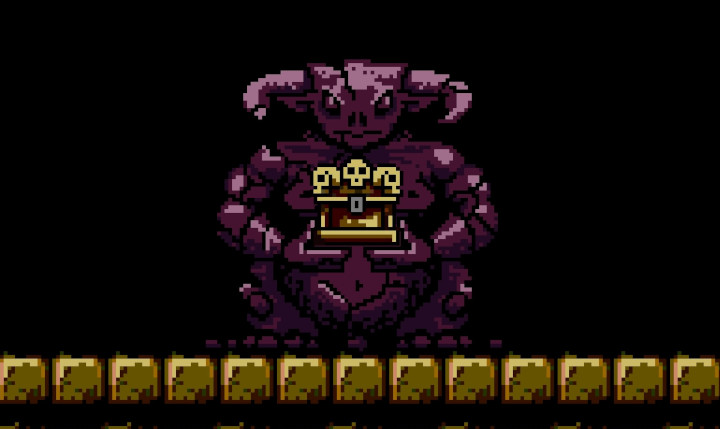
Once you’ve gotten the Necronomicon, you’ll have access to the Hidden Crypt dungeon (smash through the wall just beyond the Necoromicon’s pedestal to enter the dungeon). Clear the dungeon and you’ll earn the final weapon in the game, the Holy Mace. This also unlocks the Trophy/Achievement Slaves of Pain.
Evil playthrough
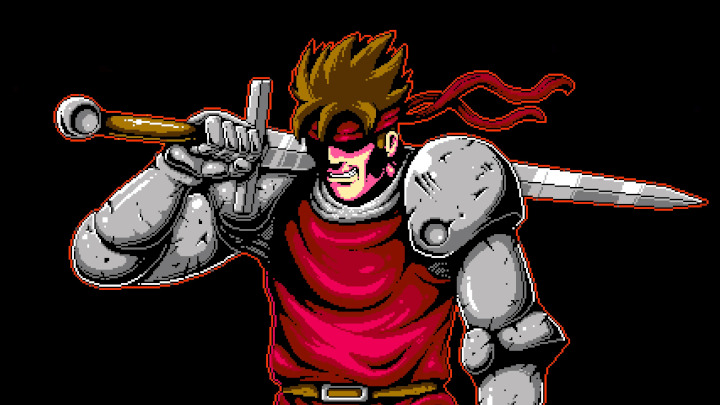
Now, if you’re going for an evil playthrough, the gear you get will be slightly different. Once you turn evil, you will swap your longsword for a mace. You’ll also lose your shield.
Your weapons will be:
- Longsword – Basic iron claymore.
- Silver Longsword – Well crafted longsword plated with silver.
- Magic Longsword – Silvered longsword imbued with magic.
- Hellish Longsword – A demonic weapon forged in the hottest fires of hell.
Also, your available spells will be different (though I’ve touched on all of those in an earlier section) and instead of the Holy Armor, you’ll receive the Hellish Armor from the Sunken Palace dungeon. (If you already have the Holy Armor, it will transform into the Hellish Armor once you turn evil.)
Maxime Gunn
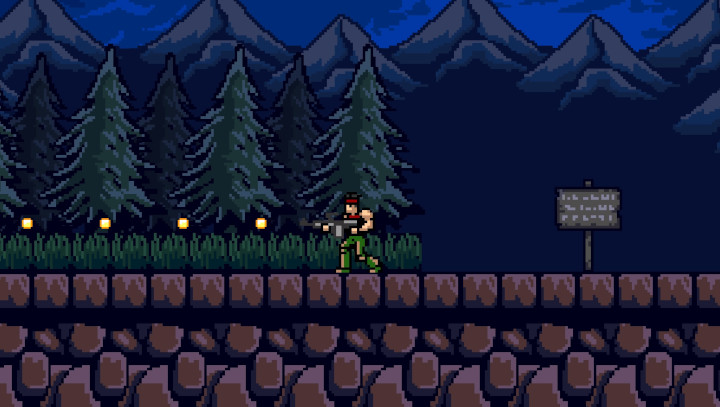
You’re not done yet! If you use the Konami code at the start screen of Infernax, you’ll unlock a new game cycle where you play as the machine-gun-wielding Maxime Gunn. The game plays out mostly the same, but your weapons and armor are different.

Here’s a list of Maxime Gunn’s weapons:
- Standard Bullets – Standard bullets, real standard.
- Red Bullets – Slightly larger and more powerful bullets.
- Green Bullets – Moderately larger and more powerful bullets.
- Blue Bullets – The ultimate bullet, a thing to behold.
And here’s his armor:
- Red Tanktop – This shirt was originally white when new.
- Blue Tanktop – Somehow this shirt protects better without sleeves.
- Green Tanktop – Woven from the finest silks, and then de-sleeved.
- Black Tanktop – This is the blackest shirt. It’s super black.
Also, his skills are slightly different:
- Precision Strike – Bullets can now pierce enemies and break cracked blocks.
- Fire in the Hole (Down, Down mid-air) – Don’t you love the smell of Napalm in the morning?
- Double Jump (Jump mid-air) – Good ol’ double jump.
- Rocket Charger (Atk + Jump) – It ain’t rocket science.
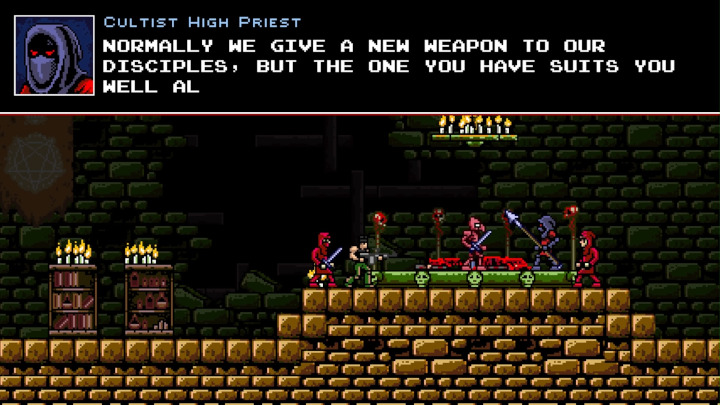
If you turn evil as Maxime Gunn, you will still keep the same gear (unlike Alcedor).
Axcedor
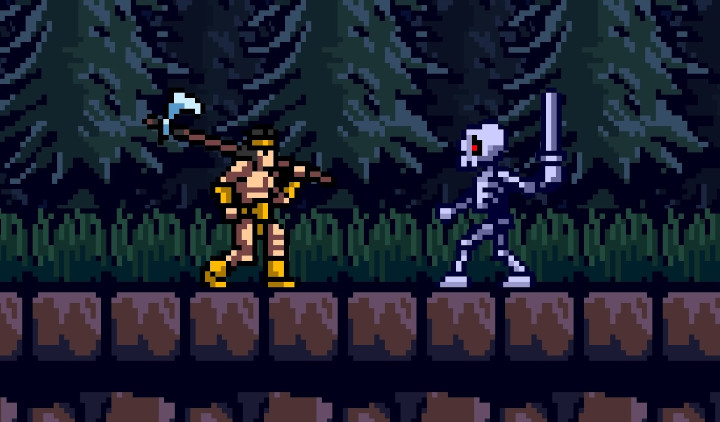
You can play as an axe-wielding warrior if you enter AXCEDOR as your name in character creation. He deals a hefty amount of damage and has pretty good range. Obviously, he comes with a whole different set of weapons.

Here are all of Axcedor’s weapons:
- Iron Axe – a worn and battle-scarred axe.
- Steel Axe – Well crafted steel axe.
- Mithril Axe – A master-crafted axe made from star-silver.
- Enchanted Axe – An axe imbued with magical power.
And here’s a list of all his armor:
- Rusted Iron Armor – This armor is barely in one piece.
- Enameled Armor – Well-crafted steel armor covered in blood red enamel.
- Gold-Plated Armor – Master-crafted armor covered in gold-filigree designs.
- Executioner Armor – Brutal and effective armor designed for the heaviest combat.
Gardakan
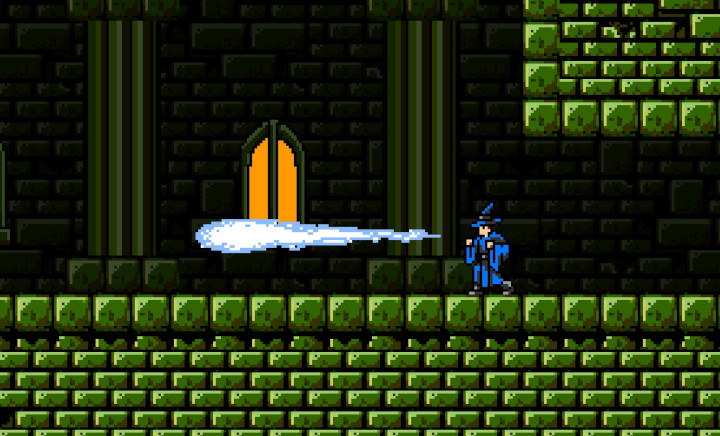
If you type GARDAKAN during character creation, you will play as a mage. This is a high-difficulty class because your attacks are all tied to mana, though your mana does slowly regenerate over time. Still, this is a really tough class to play in Infernax.

Here’s a list of Gardakan’s rings:
- Iron Focus Ring – Slightly increases wizard attack range and damage.
- Silver Focus Ring – Moderately increases wizard attack range and damage.
- Mithril Focus Ring – Greatly increases wizard attack range and damage.
- Diamond Focus Ring – The ultimate increase in wizard attack range and damage.
And here’s his armor:
- Apprentice Robes – A set of worn wizard robes that offer little protection.
- Journeyman Robes – Sturdy wizards robes that offer better protection.
- Master Robes – Finely crafted and reinforced robes that offer great protection.
- Archmage Robes – Robes imbued with magic to offer the greatest protection.
Cheat codes
Last but not least, there are a couple items you can only get using Game Wizard codes. If you want a more comprehensive guide to Game Wizard codes, I’ve got one here. Otherwise, here are some items you can get via codes:
- TEYETPAX – Jetpack
- PAINSAVV – Chainsaw
- NOTPOZES – Motorcycle