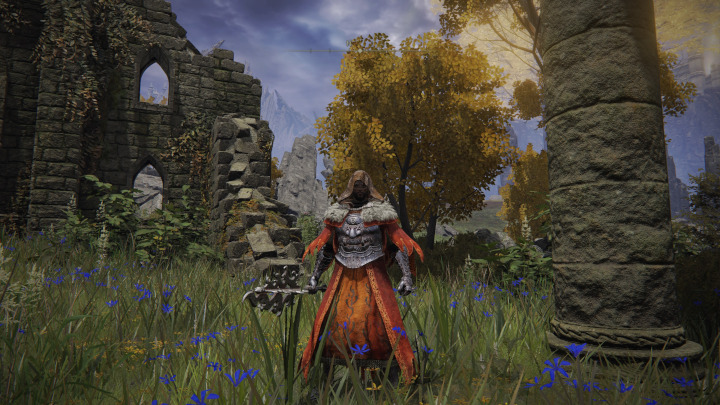
Do you want a really awesome-looking armor set in Elden Ring? Well, look no further than the Fire Monk armor set, which is super cool for those who dabble in both fire magic and knightly aesthetics. If you want to acquire this for yourself, I’ve found a pretty good farming spot.
I should point out that this isn’t quite as good as the Banished Knight farming spot I found previously, but it’s still a decent way to get the full Fire Monk armor set if you have a little bit of patience (and a little bit of luck).
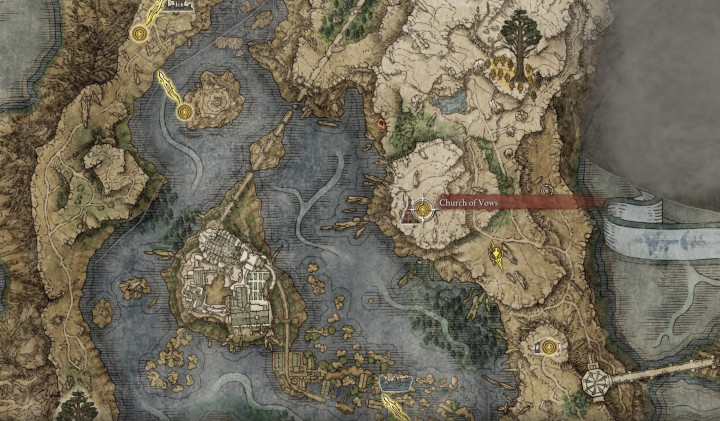
You want to start off at the Church of Vows in Liurnia of the Lakes, then just head south along the path. Beware of clusters of enemies — there are a few to watch out for here, but they mostly stick to the path. You’ll come to a small camp with a Fire Monk and some other fire-spewing witch-like enemies. The oh-so-stylish Fire Monk is your target. just be careful, because all of the enemies in this camp deal a ton of damage.
Here’s a video of me farming this exact spot:
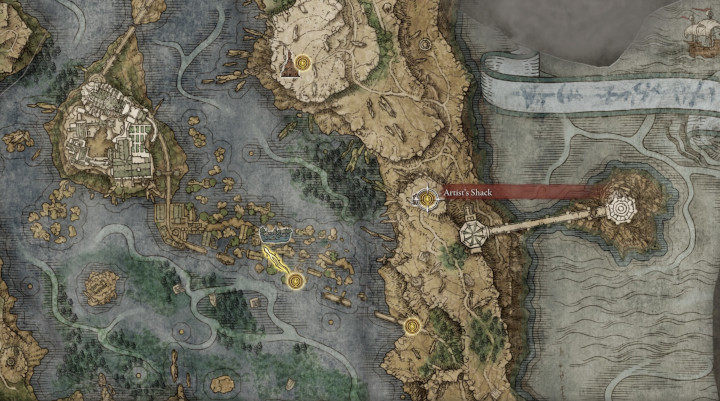
I should point out that you can also get to this spot pretty easily from the Artist’s Shack to the south. It’s about the same distance as the church, though you’ll encounter fewer enemies along the path. If that’s more of your jam, feel free to take that route instead.
Another thing I should mention is that it’s best to use a ranged attack, and then lead the Fire Monk out of the camp. This will allow his corpse to fall outside the camp, so you can loot the body without having to face off against any of the witches that are hanging out inside. You can actually go a little ways into the camp without being attacked by the witches, but I like to play it safe.
If you do go for a melee attack style, you might struggle a bit with all the fire damage that these enemies can dish out (both the Fire Monk and the witches). If this is indeed your struggle, you might want to stock up on some Fireproof Dried Liver, which you can craft yourself (here’s a guide for doing just that).
Once I discovered this location, I decided to put it to the test, the same way I did the Banished Knight set. So I farmed this Fire Monk 100 times (which took about two hours) and took inventory of my spoils. Here’s what I earned in 100 kills:
- Monk’s Flamemace – 4
- Fire Monk Hood – 2
- Fire Monk Armor – 1
- Fire Monk Gauntlets – 4
- Fire Monk Greaves – 3
- Smoldering Butterfly – 17
- Fire Blossom – 4
- Runes – 20,510
That last number might need a little explaining. Typically, killing the Fire Monk should grant you 205 runes, but every once in a while, you’ll see a whole bunch of Erdtree leaves falling from the sky and you’re character will have a golden glow. If you kill the Fire Monk while in this state, he will instead drop 215 runes. That happened one time during my experiment.

I should point out (as I did in my Banished Knight guide) that it’s tempting to think of these numbers as percentages. For example, I got the Fire Monk Greaves four times in 100 kills, so it’s tempting to think of that as a 4% drop rate. However, I would have to run this experiment several times, then average the numbers, before I would be comfortable giving real true percentages. This just shows what the odds looked like when I ran this experiment — yours could vary.
I will also say that the Fire Monk Hood was the last one I got. When the first one finally dropped, I was about 70 kills deep into this experiment, and my second one appeared on the 99th kill. And I only got the main armor piece once. It does seem like these pieces have lower drop rates than the Banished Knight pieces, so this could be a long grind.
So you probably want some stats, right? Well, I’ll say right away that the Banished Knight set beats this one in pretty much every stat. The main benefit of the Fire Monk set is that it’s a lot lighter than the Banished Knight set. It also looks awesome, in my opinion.
I am a little disappointed that the Monk’s Flamemace doesn’t deal fire damage, though.
But you don’t need to take my word for it. Here are all the stats for this armor set:
Fire Monk Hood
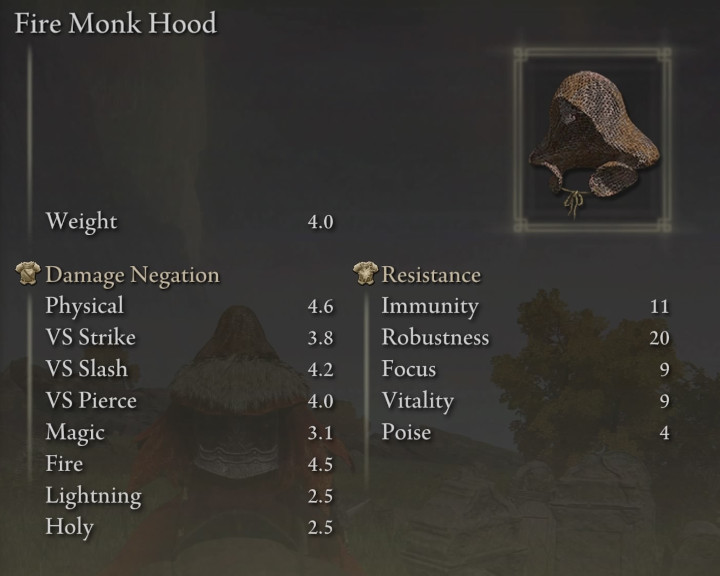
- Weight – 4.0
Damage Negation
- Physical – 4.6
- VS Strike – 3.8
- VS Slash – 4.2
- VS Pierce – 4.0
- Magic – 3.1
- Fire – 4.5
- Lightning – 2.5
- Holy – 2.5
Resistance
- Immunity – 11
- Robustness – 20
- Focus – 9
- Vitality – 9
- Poise – 4
Fire Monk Armor
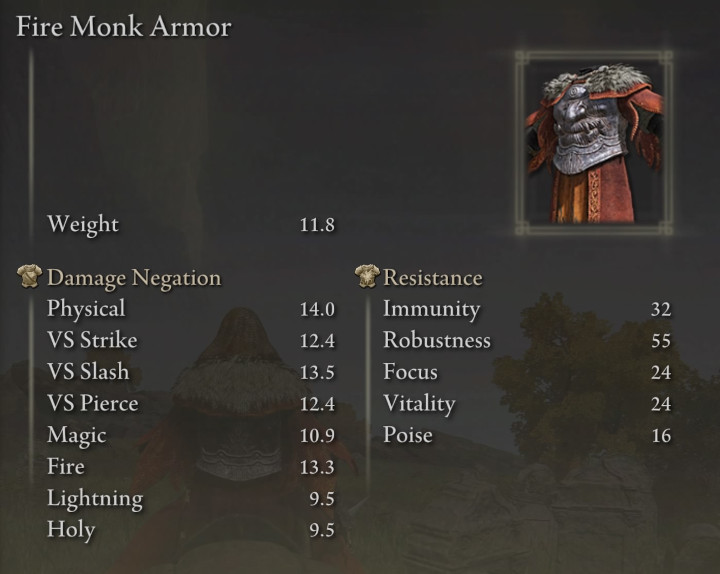
- Weight – 11.8
Damage Negation
- Physical – 14.0
- VS Strike – 12.4
- VS Slash – 13.5
- VS Pierce – 12.4
- Magic – 10.9
- Fire – 13.3
- Lightning – 9.5
- Holy – 9.5
Resistance
- Immunity – 32
- Robustness – 55
- Focus – 24
- Vitality – 24
- Poise – 16
Fire Monk Gauntlets
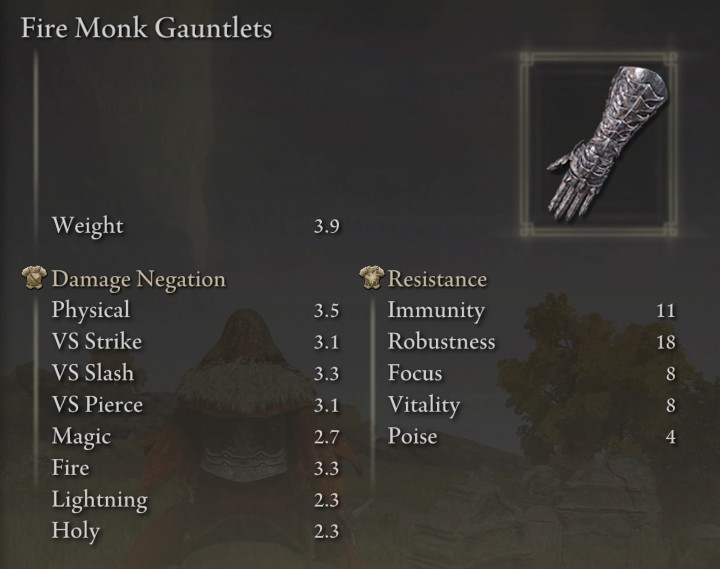
- Weight – 3.9
Damage Negation
- Physical – 3.5
- VS Strike – 3.1
- VS Slash – 3.3
- VS Pierce – 3.1
- Magic – 2.7
- Fire – 3.3
- Lightning – 2.3
- Holy – 2.3
Resistance
- Immunity – 11
- Robustness – 18
- Focus – 8
- Vitality – 8
- Poise – 4
Fire Monk Greaves
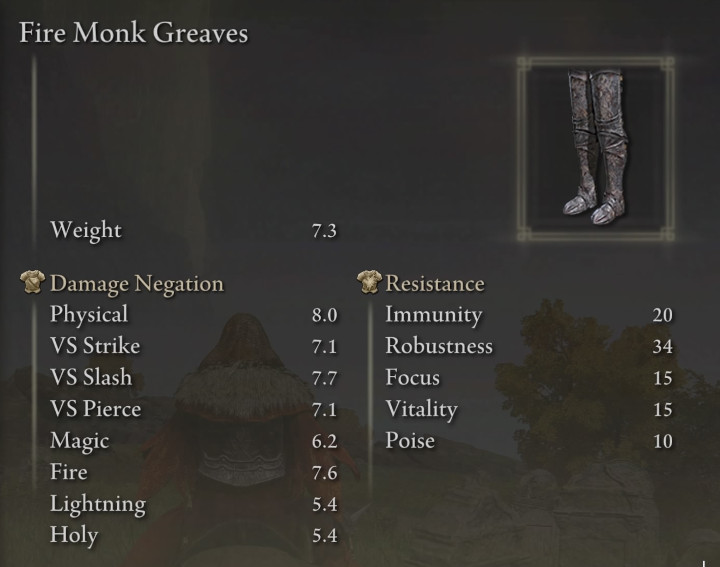
- Weight – 7.3
Damage Negation
- Physical – 8.0
- VS Strike – 7.1
- VS Slash – 7.7
- VS Pierce – 7.1
- Magic – 6.2
- Fire – 7.6
- Lightning – 5.4
- Holy – 5.4
Resistance
- Immunity – 20
- Robustness – 34
- Focus – 15
- Vitality – 15
- Poise – 10
Monk’s Flamemace
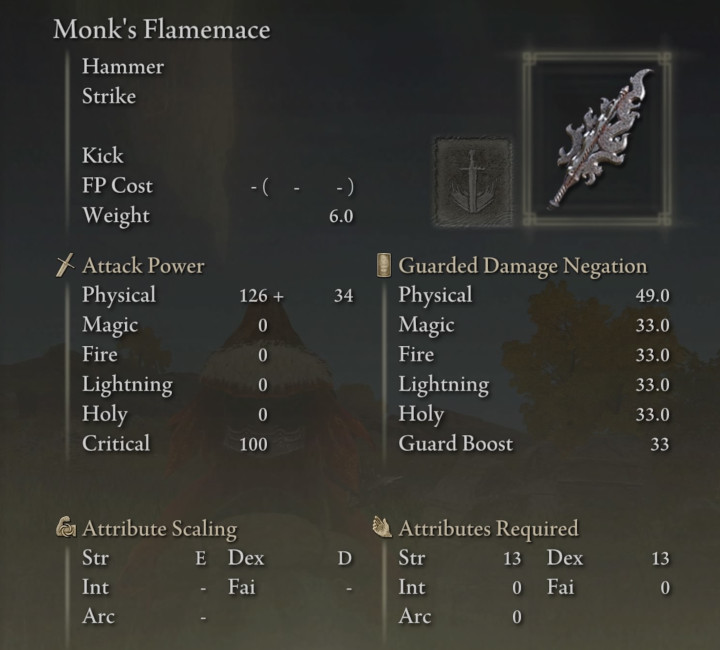
- Weight – 6.0
- Hammer
- Strike
- Kick
Attack Power
- Physical – 126+
- Magic – 0
- Fire – 0
- Lightning – 0
- Holy – 0
- Critical – 100
Guarded Damage Negation
- Physical – 49.0
- Magic – 33.0
- Fire – 33.0
- Lightning – 33.0
- Holy – 33.0
- Guard Boost – 33
Attribute Scaling
- Str – E
- Dex – D
- Int –
- Fai –
- Arc –
Attributes Required
- Str – 13
- Dex – 13
- Int – 0
- Fai – 0
- Arc – 0
Why not start at the grace right next to the camp “Eastern Tableland” instead of going all the way from Artist’s shack or the church? Talk about wasting time running for no reason
I completely missed that Site of Grace until AFTER I had farmed this spot 100 times for the guide. Yeah, that is a much shorter route than the one in the video.