
In Shovel Knight Dig, you start out with the classic blue armor that you probably think of when you hear the term “Shovel Knight.” You can also buy and equip other types of armor, many of which have perks or stat bonuses. However, the game makes you jump through some hoops before you can access this feature.
So I’m going to walk you through the process of opening up the armorer’s shop, and then I’ll explain the process of unlocking each set of armor.
How to unlock the armorer
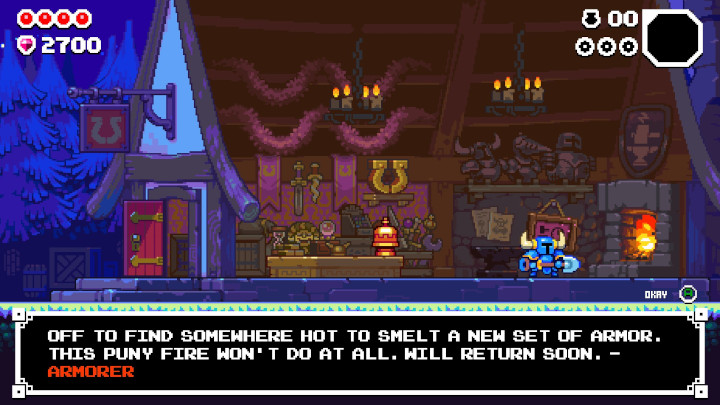
When you step into Hoofman’s shop (to the right of where you start out), you’ll see a piece of paper on the wall. If you walk up to it and read it, you’ll see that there should be an armorer there, but he’s gone missing. So first up, you’ll need to find him.
Before you do that, though, you need to beat the Spore Knight, who is the boss of the Mushroom Mine world. There are basically three main sections of this first world, and once you finish Mushroom Mine III, you’ll enter the boss fight.
The first time you beat the Spore Knight, you’ll unlock the Secret Fountain world. The second time you beat the Spore Knight, you should unlock the Smeltworks world, which is an alternate path to the Secret Fountain.
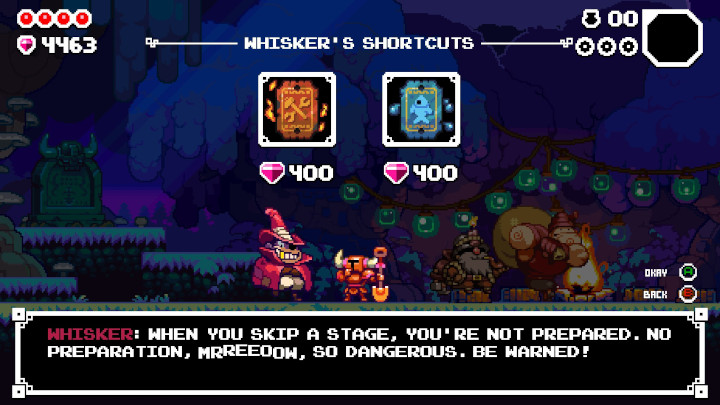
Note that once you’ve entered a world, you can buy a ticket back to that world from Whisker, who hangs out in the camp to the left of where you start out. You’ll first have to pay to unlock that feature, but once you do, a ticket to Smeltworks (or to Secret Fountain) will cost you 400 gems. If you buy a ticket, Whisker will “whisk” you away to a different starting point… get it?
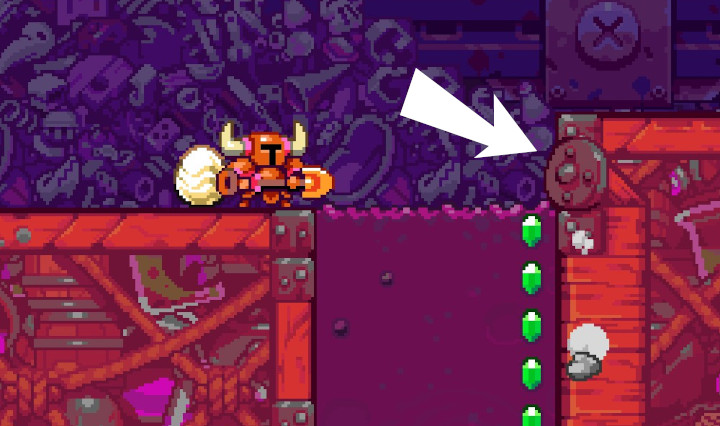
The Smeltworks is where you’ll find the armorer. When you’re exploring, you might encounter a blacksmith’s hammer stuck in the wall, as shown below:

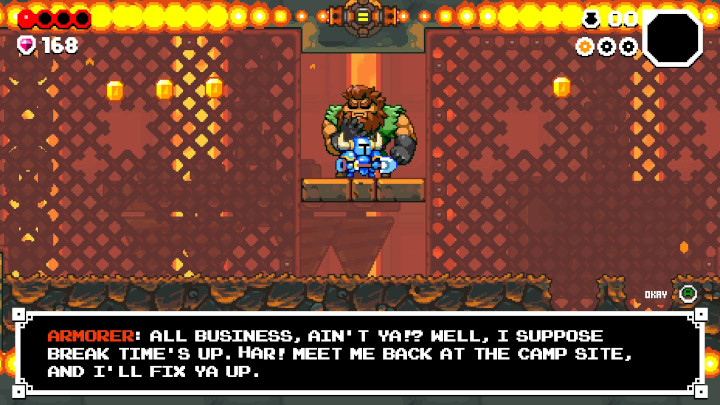
This is the sign that the armorer is near. You’ll need to attack that hammer, which will cause a secret room to open up. That room will feature several enemies, as well as the armorer, who is passed out in the center of the room. You need to kill all the enemies in that room, then talk to the armorer, who should wake up once the room is clear. He’ll agree to return to Hoofman’s shop.
From this point on, you can visit the armorer in Hoofman’s shop to purchase new armor or to swap your currently equipped armor.
A brief word about armor templates
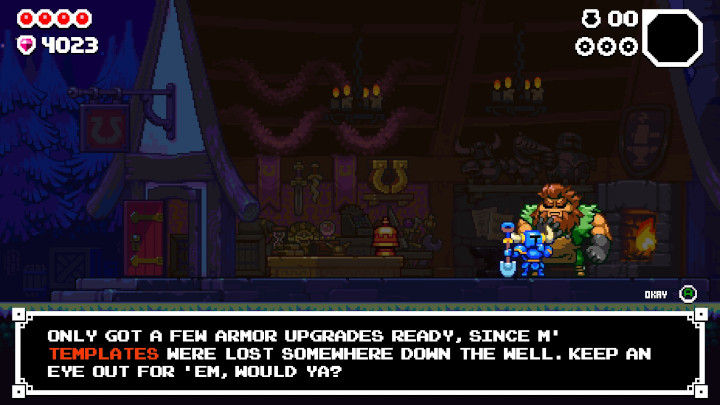
The armorer will sell you a couple different sets of armor right off the bat, but he’s also missing templates for some of the more advanced sets. If you want to purchase those sets, you’re going to have to find the template for each one.
If you go through the armorer’s shop, you’ll see that there are notes for each piece of armor, which will give you clues about what you’re looking for. To access the clue, select the note from the shop and then press the “Okay” button (it’s the A button if you’re using an Xbox controller). I’ll explain each clue in more detail in the unlocks section of this guide.
How to unlock all sets of armor
There are ten sets of armor in the game, so unlocking all of them can be a pretty big project. I’m going to walk you through all of them one by one.
Stalwart Plate
Description: Your original armor. Simple, but sturdy.
How to unlock: This is the default armor, which is already unlocked and equipped when you start the game.
Final Guard
Description: Take less damage. Fewer gems appear, but more gems and accessories are kept after falling in battle.
How to unlock: After you rescue the armorer, the Final Guard armor set can be purchased for 3,000 gems.
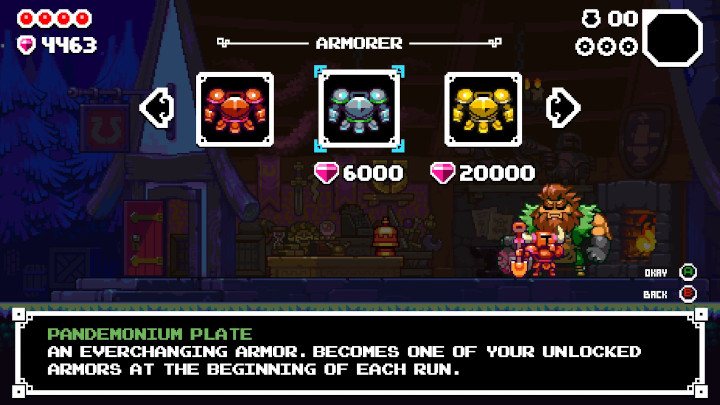
Pandemonium Plate
Description: An everchanging armor. Becomes one of your unlocked armors at the beginning of each run.
How to unlock: As far as I can tell, this armor set becomes available to purchase once you’ve purchased any other set of armor and have attempted at least one run (whether you were wearing the new armor or not). The purchase price is 6,000 gems.
Ornate Plate
Description: Flashy! Acrobatic! Useless!
How to unlock: After you rescue the armorer, the Ornate Plate armor set can be purchased for 20,000 gems.
Streamline Mail
Description: Earn a free Accessory every stage! But without side rooms, you can’t visit all the areas in one run…
Clue: I must’ve lost the template when I took a shortcut. My hammer could put nary a scratch in the damp rock ‘n wood around the exit.
Location: The Secret Fountain
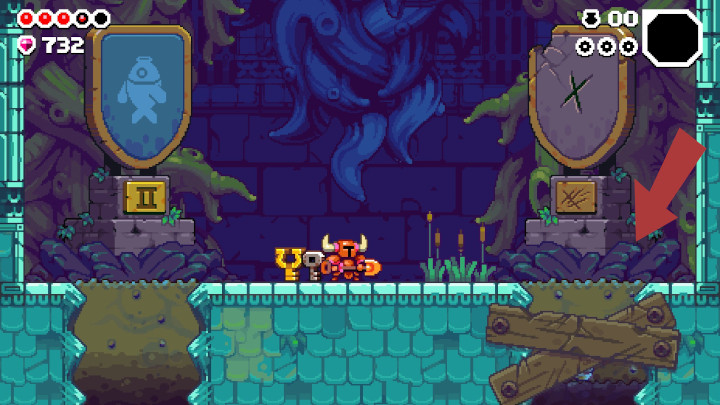
How to unlock: When you reach the bottom of a stage section, you are usually presented with two paths down. However, occasionally one of those paths is boarded up and blocked off. Generally, you can’t dig through these, but there is an exception. If you see one of these blockades in the Secret Fountain, try to dig it up. You might just find the template you’re looking for. Once you’ve found the template, you can buy the Streamline Mail for 7,500 gems.
Scrounger’s Suit
Description: Vastly increases item luck, but you begin in a weakened state. Reduced prices at shops.
Clue: Got dizzy and dropped m’ template, I did. And what a sight — a blue, glowing mushroom, as tall as me! In fact, everything seemed too large…
Location: Mushroom Mine
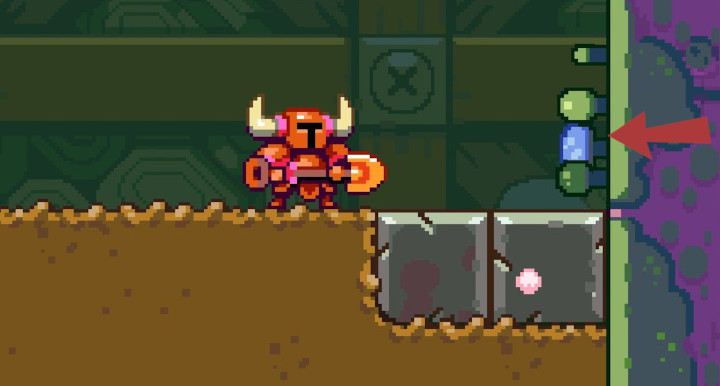
How to unlock: When you’re in Mushroom Mine, look at the walls really, really closely. You might see a blue mushroom (most of the mushrooms on the wall are green). If you do, hit it with your shovel to open a secret path. The template should be at the end of this path. You might need to shrink down to fit through it. Once you bring the template to the armorer, the Scrounger’s Suit will cost 5,000 gems.
Ballistic Armor
Description: Jump in the air to enter a more mobile form.
Clue: Those stingin’ pests must’ve loved my design, ’cause they wouldn’t stop swarmin’ around the template. I had to leave it behind!
Location: The Grub Pit
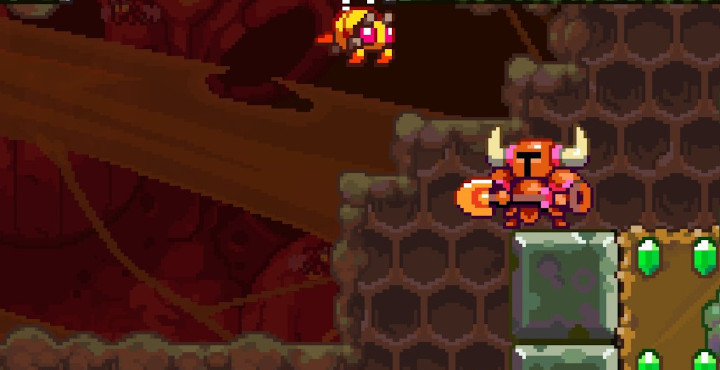
How to unlock: This one is a little bit of a nightmare. Basically, you have to wait for a bee swarm in the Grub Pit, then dig as much dirt as you can while the bees are still swarming. The template will be buried in the dirt somewhere. This took me many, many tries before I could get it to work, and that seems to be a pretty common experience. Once you get the template, though, the Ballistic Armor will cost you 10,000 gems.
Conjurer’s Coat
Description: Sacrifice protection for a higher magic max, and harvest magic from defeated foes. Hold two relics!
Clue: Magical metal was all around me, just waitin’ to be collected. My pockets filled up, so I had to stash th’ template behind a nearby shield!
Location: The Magic Landfill
How to unlock: Throughout the Magic Landfill, there are shields that can be knocked off the walls. One of those shields should have the template behind it. Once you nab the template, you can purchase the Conjurer’s Coat for 10,000 gems.
Brash Bracers
Description: Slashes are powered up, but if you’re hit, max health is reduced until the next stage.
Clue: Stolen! A strange purple hat and a flurry of claws are all I can remember. Happened not far from where y’ first rescued me, lad.
Location: Smeltworks
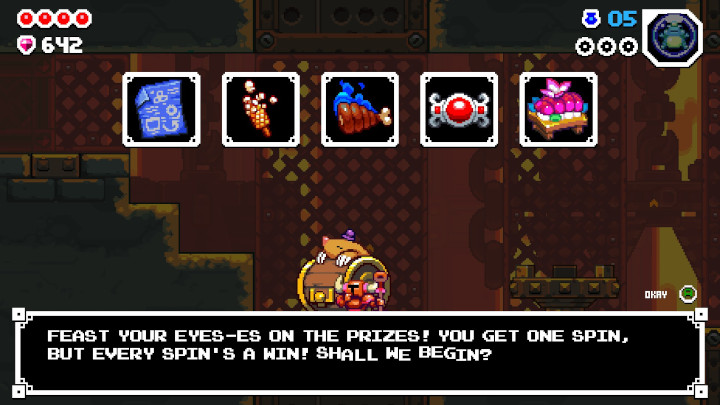
How to unlock: You’ll need a little bit of luck for this one, as it appears as part of Tom Bola’s spin game. Remember, it costs 250 gems to play, so you’ll want to make sure you have enough gems on hand as you go exploring those side rooms. Once you get the template the Brash Bracers will cost you 7,500 gems.
Combo Cuirass
Description: Defeat foes and dig dirt to build your combo and earn more gems!
Clue: In a yellow castle, a giant saw pursued me! Poor craftsmanship, though. I spotted a weak point above the saw, and hid my template there.
Location: Knight’s Castle
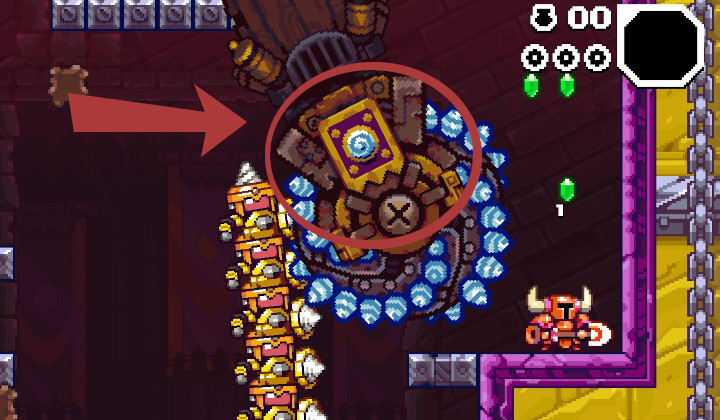
How to unlock: This template is hidden in the Omega Saw. In the beginning of Knight’s Castle, drop down just far enough that the Omega Saw will spawn — you generally just need to drop about two dig heights down from the box that you spawn on top of. Once the saw appears, you need to attack the joint between the blade and the arm. If you can knock that piece off (it should take 4 or 5 hits), then the template will fall out of it. Once you collect the template, you can buy the Combo Cuirass for 15,000 gems.
So does the Ornate Plate actually do anything? Why does it cost so much, if not?
Because it’s ornate!