Valheim is burning up the charts right now (it even recently hit 500,000 concurrent users on Steam) with its Viking-inspired take on the survival sim. It’s in Early Access, but there are still plenty of great features that make it a blast to play.
However, getting started in Valheim can be a little rough for new players, and most of the guides I’ve seen assume you already know the basics. This means a lot of players are left to figure out the most basic of concepts on their own.
But now that I’m starting to get my bearings in Valheim, I figured I’d share what I learned and hopefully speed up the learning process so new players can get to the good stuff much faster.
Gather wood and stone first
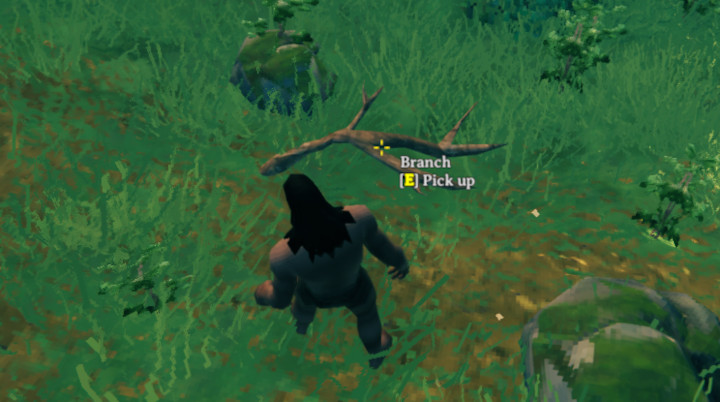
The very first thing you’ll want to do when you start fresh in Valheim is to gather some wood and stone. Wood can be found lying on the ground (as branches), as shown in the image above. Stone can be found on the ground as well.
When you approach a pile of wood or stone, move your cursor over it and a button prompt should come up. When you see the prompt, press E to pick up the wood or stone.
Be careful, because there is likely to be hungry critters roaming around, and if they attack you when you are unarmed, it can be bad for your health (to put it lightly).
If you can’t find any branches on the ground, an alternative is to punch bushes until they break apart. You’re looking for the smaller saplings and bushes, not full-grown trees. You can harvest wood from trees eventually, but you’ll need an axe first. Stick with saplings until you can get yourself an axe.
Craft your very first hammer and your very first axe
The very first thing you want to craft is a hammer, and you’ll probably want a stone axe right away too. In order to craft these items, press the Tab button to open up your inventory tab. On the right-hand side, you should see a list of basic items you can craft. The hammer and stone axe are both here.
The ingredients for the hammer and the stone axe are:
Hammer
- 3 Wood
- 2 Stone
Stone Axe
- 5 Wood
- 4 Stone
Falling trees are dangerous
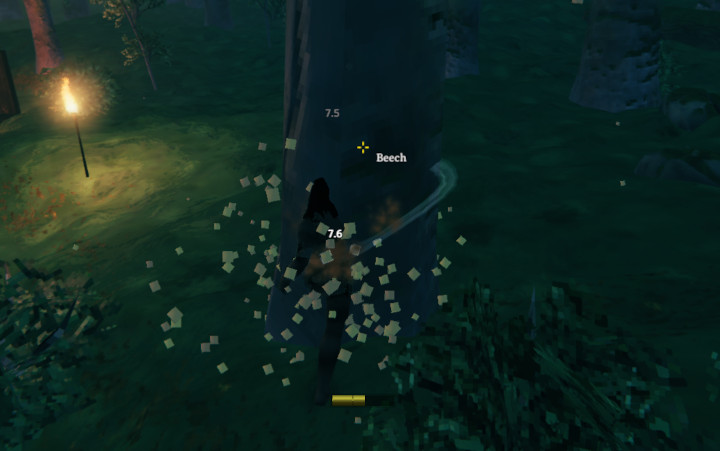
This is just a PSA: Once you have a stone axe and you start chopping down trees, be warned: Falling trees can conk you on the head and deal damage. When a tree starts to fall, get out of its way as quickly as you can.
Use your brand-new hammer to craft a workbench
It’s important to know that in order to craft anything beyond the beginning set of basic items, you need to have a hammer equipped. First, craft a hammer. Now, open your inventory (by pressing Tab) and move the hammer into your hotbar (if it’s not there already). Now, press whichever number is assigned to your hammer to equip it (for example, if your hammer is in hotbar slot 1, then you’ll press the 1 key to equip it.
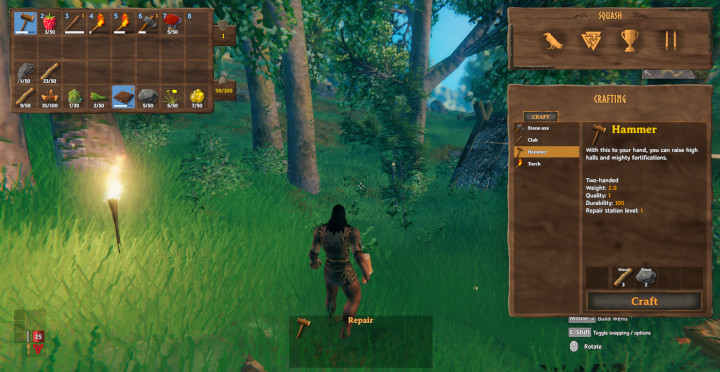
In case that’s confusing, check out the image below:
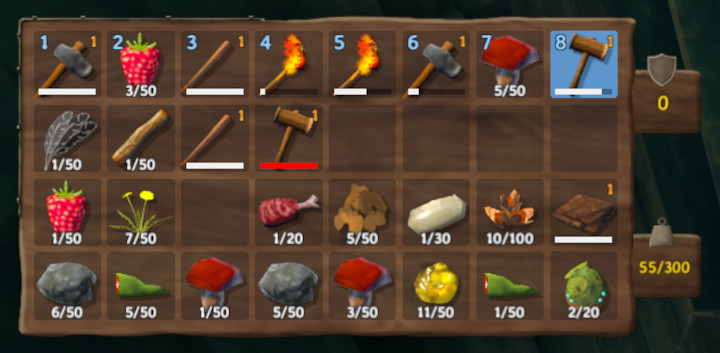
In this case, the hammer is placed in hotbar slot 8, so I would press the 8 key to equip it. Make sense?
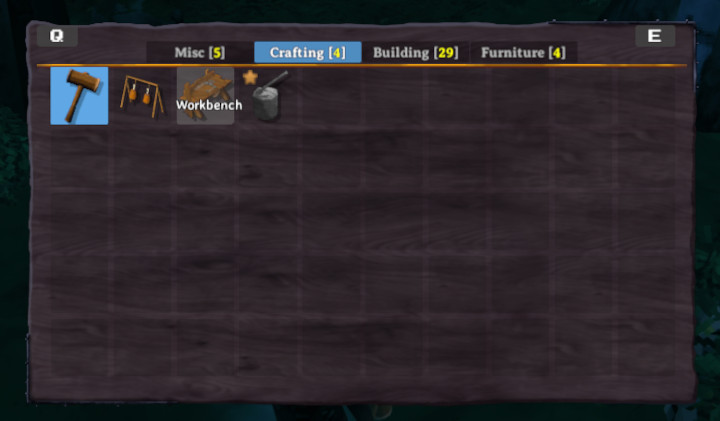
Once you equip your hammer, you can right-click to open your crafting menu. There are a few different tabs in this menu, but the workbench is in the Crafting tab. Select the workbench, then place it in the world by left-clicking on the mouse.
Don’t worry about location so much, because you’ll be able to tear down the workbench when you’re ready to move it. For this first step, you really just want to have a workbench anywhere you can place one.
Now, as long as you’re within a certain proximity to your workbench, you should have way more crafting options.
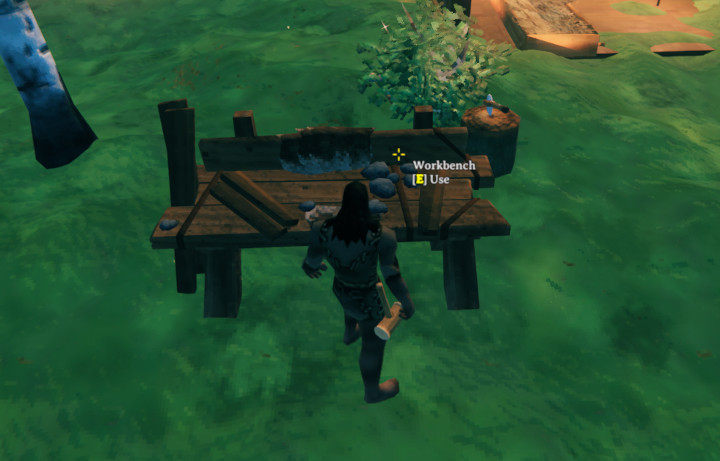
Build a roof over your workbench
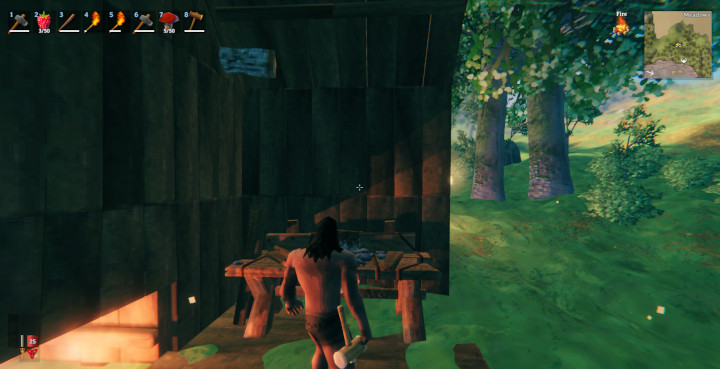
In order to get the full benefit of having a workbench, you must make sure you have a roof over it. This doesn’t even need to be attached to four walls — as long as there are roof tiles over the workbench, you should be good. In the image above, you’ll see that I have floor tiles, two walls, and a roof (two roof tiles), and my workbench still counts as having a roof over it.
This adds a whole new world of crafting options, turning your workbench into a repair station. To access these options, walk up to your workbench and press E to interact with it.
Note that even more crafting options will open up once you collect certain resources (collecting leather will give you the option to craft basic clothing items, for example).
Repair your tools
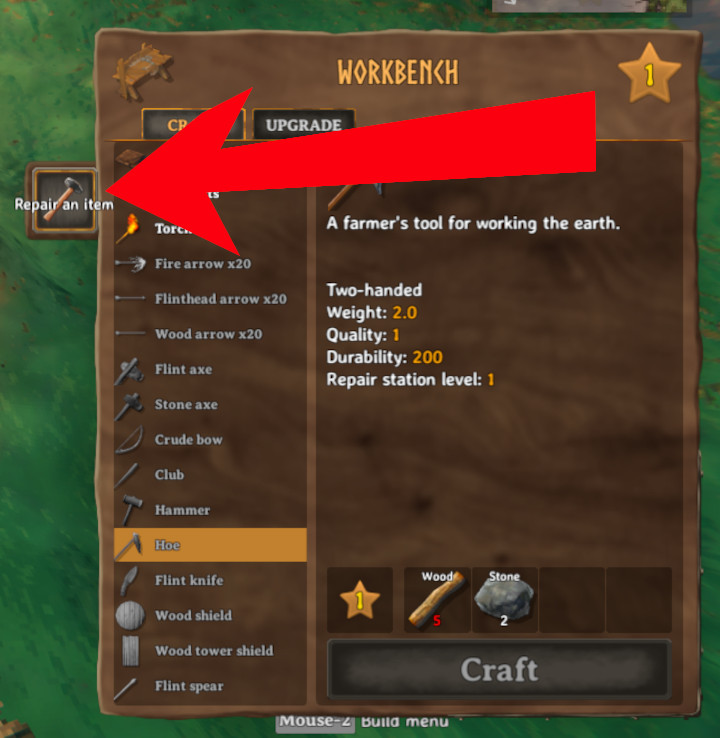
Similar to tools in Minecraft, your tools in Valheim will wear out. Each tool has a durability bar, and once that durability reaches 0, you won’t be able to use that tool anymore. Unless you repair it, that is.
Once your repair station is set up (a workbench with a roof over it), you can press E to interact with your workbench/repair station, and a new tab should exist next to your basic crafting options. This tab lets you repair any tools that are currently in your inventory.
There are some pretty thorough guides about tool repair already, so check those out if you want to learn more. For this particular guide, I’ll just touch on the basics.
- Repairs cost nothing.
- You need to be at a repair station (a workbench with a roof over it) in order to repair your tools.
- Repairing specific items will require a higher-level workbench, and some will require a forge.
- If you need to repair a workbench (or any item that’s placed in the world rather than in your inventory menu), just walk up to it and press the left mouse button.
At this point, you can start upgrading your tools as well.
Raise/lower dirt with a hoe
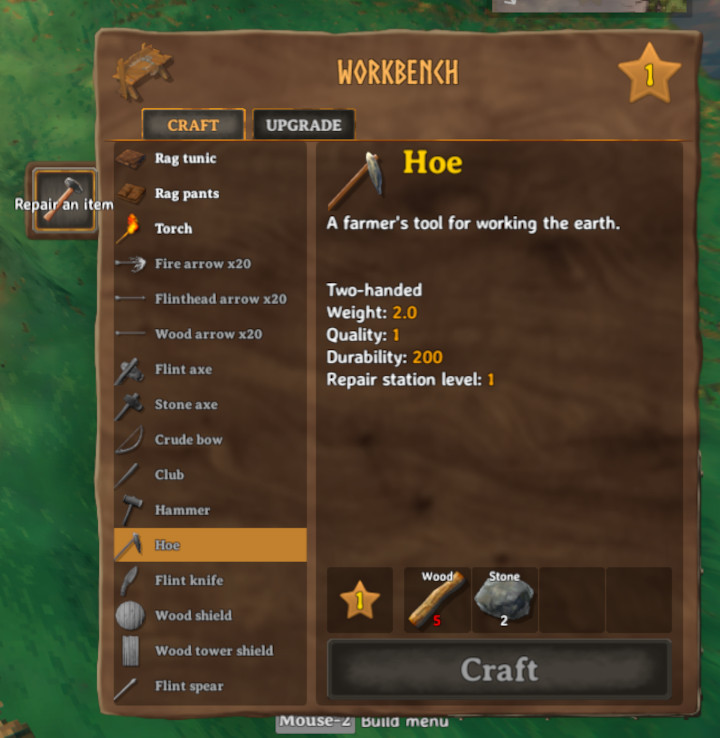
If you want to level out some ground so you can build a nice level floor, you’ll need to craft a hoe. In order to craft one, you’ll need to have a workbench with a roof over it. If you meet this requirement, you should be able to craft the hoe from the workbench menu (which you open by walking up to the workbench and pressing E).
The ingredients for a hoe are:
- 5 Wood
- 2 Stone
To use a hoe, select a patch of ground and then left-click it to level it. You also have the options to raise the ground or to “pathen” a piece of ground. To switch hoe modes, right click to open up the hoe menu.
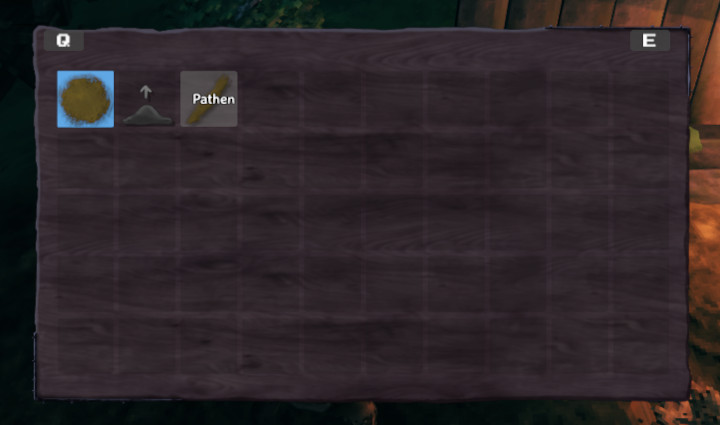
Note that raising ground requires a workbench to be nearby and costs 4 stone. Pathen just makes the ground look like a dirt path.
Build a fire to keep warm

Hopefully, you’ve managed to do everything I’ve mentioned above in your first day. As the sun starts to set, though, you’ll want to make sure you have a campfire so you can stay warm.
To build a campfire, you need:
- 5 Stone
- 2 Wood
You have to be in close proximity to your workbench to craft a campfire, and your hammer needs to be equipped. With your hammer equipped, right click to open your crafting menu, select the campfire from the Misc tab, and click to place it in the world.
Make a bed so you can sleep
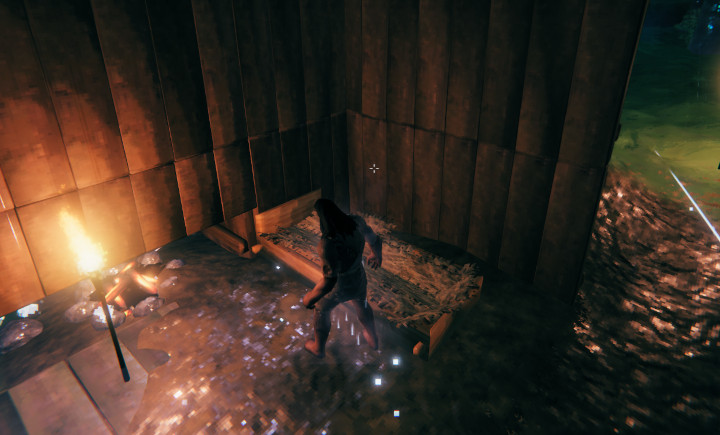
Beds work in Valheim similar to how they work in Minecraft. You can rest in a bed to sleep through the night and to change the location of where you respawn if you happen to die.
Of course, there are some caveats. In order to claim a bed, it needs to have a roof over it (these rules are similar to the rules for a workbench), and in order to sleep in it, the bed needs to be near a campfire.
This creates the problem of having an indoor campfire, which I’ll talk about ever-so-briefly in the next section.
Your indoor campfire needs to be vented or you will get smoked out
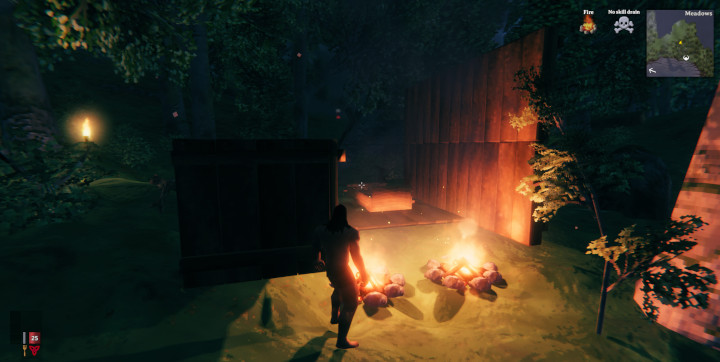
You can’t just make a campfire indoors and expect everything to be fine. If your house isn’t properly vented, you will get smoked out.
There are a million guides on how to safely make a campfire inside your house in Valheim, so I won’t repeat that information here. I will, however, provide you links to a few different guides that you might find useful:
- Valheim: How to Build a Campfire Indoors (PC Gamer)
- Valheim Guide: How to Build a Fire Indoors (Game Skinny)
- Valheim: How to Build a Campfire Inside Your House (Ginx)
- Valheim Fire in House – How to Light Fire Indoors, Place Fire on Second Floor (GosuNoob)
And at this point, I think we’re moving beyond beginner-level crafting, so I’ll wrap this thing up. I hope you find this guide to be helpful, and I hope you enjoy your time in Valheim!